Choosing and Downloading a Disk Image
Naturally the first thing you’ll need to do in order to get up and running is to download the image.
We distribute these images as .iso files, which are commonly referred to as “disk images.”
You have a few choices to download an .iso one is SourceForge and the mirror would be at OSSPlanet
Downloading Peppermint
XFCE – BUILDS
| Debian Base(bookworm) | Devuan Base(daedalus) | |
| 64-bit | SourceForge – sha512 checksum mirror ossplanet – sha512checksum | SourceForge – sha512 checksum mirror ossplanet – sha512checksum |
| 32-bit | SourceForge – sha512 checksum mirror ossplanet – sha512checksum | SourceForge – sha512 checksum mirror ossplanet – sha512checksum |
| ARM | SourceForge – sha512 checksum mirror ossplanet – sha512checksum | SourceForge – sha512 checksum mirror ossplanet – sha512checksum |
GNOME FLASHBACK – BUILDS
| Debian Base(bookworm) | Devuan Base(daedalus) | |
| 64-bit | SourceForge – sha512 checksum mirror ossplanet – sha512checksum | SourceForge – sha512 checksum mirror ossplanet – sha512checksum |
| 32-bit | SourceForge – sha512 checksum mirror ossplanet – sha512checksum | SourceForge – sha512 checksum mirror ossplanet – sha512checksum |
MINI – BUILDS
PLEASE NOTE: The installer used for these are the Debian installer, and they are network installs.
| | Debian Base(bookworm) | Devuan Base(daedalus) |
| 64-bit | SourceForge – sha512 checksum mirror ossplanet – sha512checksum | SourceForge – sha512 checksum mirror ossplanet – sha512checksum |
| 32-bit | SourceForge – sha512 checksum mirror ossplanet – sha512checksum | SourceForge – sha512 checksum mirror ossplanet – sha512checksum |
How to verify the integrity of the installer
$ sha512sum PeppermintOS-Debian-64.iso
$ sha512sum PeppermintOS-Debian-32.iso
$ sha512sum PeppermintOS-Devuan_64.iso
$ sha512sum PeppermintOS-Devuan_32.iso
$ sha512sum PeppermintOS-Debian_ARM_64.iso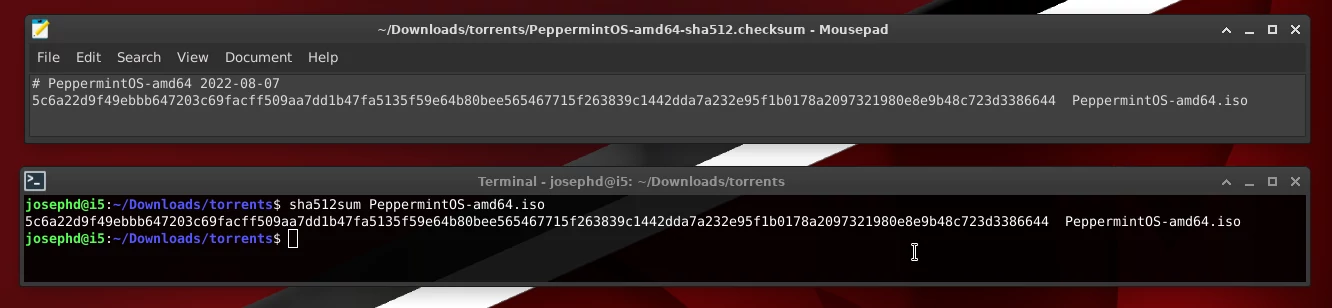
Creating an Installation Medium
The next step is to take the disk image and write it to some form of external media so that you can boot the computer into that media and then install the operating system. Most commonly the installation medium consists of either an optical disk such as a DVD, or USB flash drive.
Most modern computers can boot from a USB flash drive and this is the method that we most strongly recommend. When compared to a DVD, bootable USB flash drives are significantly faster for live desktop performance and install time.
Booting Into Your Installation Medium
When you first power a computer on, you should see a BIOS screen. Generally this is the part where you see the computer manufacturer’s logo (or the motherboard manufacturer’s logo if you assembled the machine yourself) along with a few other things such as “F2, F7 or Del to Enter Setup” depending on the manufacturer. What we want to do is to change the device that the computer is going to boot into as most systems will select the installed hard drive as their first choice.
Very rarely does the BIOS screen not tell you what it is. Some computers give you multiple options including full setup and a designated boot manager, which is ideal for this sort of work. As an example, a Lenovo ThinkPad may have a “ThinkVantage” labelled button that enters the full BIOS setup. If you need specific instructions or search the web for your system’s documentation.
Once you have selected the correct device to boot, follow on screen instructions regarding saving and exiting. From here either wait a moment for the computer to automatically select the first option, or select any option from the list and hit “Enter”. Ideally, the option you’ll want to select is “Peppermint Live” which will take you to a desktop from which you can install the system.
Minimum System Requirements
Before installing Peppermint note our minimum system requirements.
- 1 GB of RAM
- Processor based on Intel x86 architecture
- 10GB of available disk space
Recommended System Requirements
- 4 GB of RAM
- x86_64 or amd64 processor
- 32 GB of disk space
Peppermint has “very modest” system requirements. One of the original goals we set when we first started working on the project was to keep the system requirements low in order to offer the best possible performance to the widest variety of hardware.
We strongly advise backing up any valuable or sensitive data before installing any operating system onto a computer that has one or more existing operating systems. There is always the risk that the install process could potentially interfere with these other operating systems.
Peppermint does include some proprietary software by default. Should you decide to run and install Peppermint be aware of their user end license agreements.
Finally, Peppermint is offered as Open Source software and no warranty or guarantees are provided. Enjoy Peppermint but use at your own risk.
Running the Installer
The Peppermint installer can easily be launched by double clicking the “Install Peppermint” icon on the desktop.
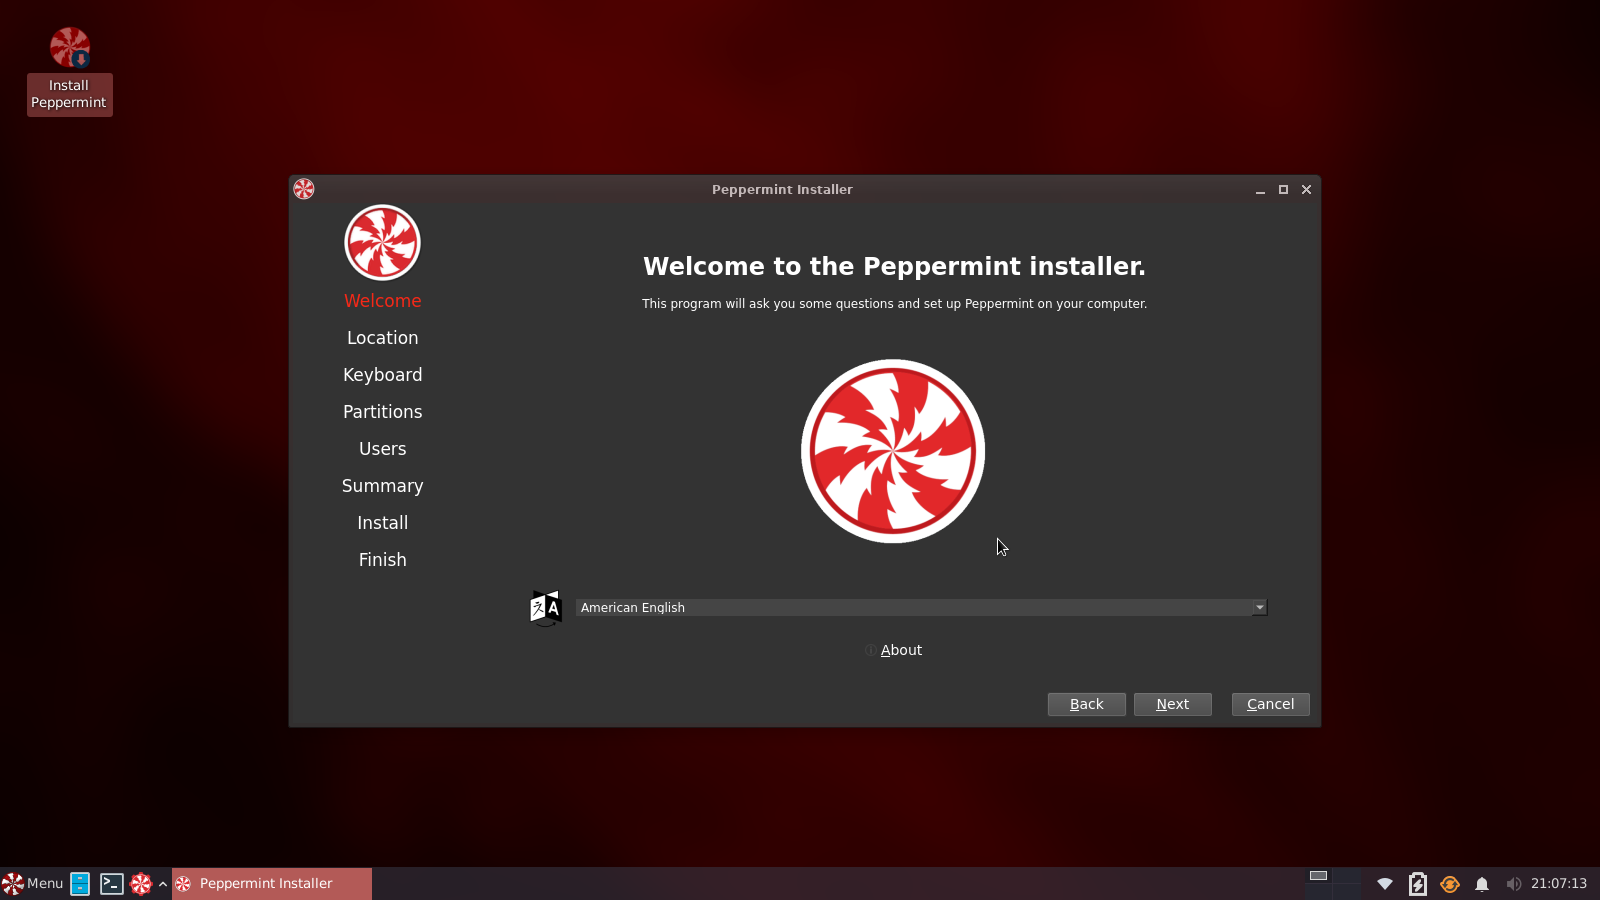
The Welcome screen: From here choose your location and preferred language.
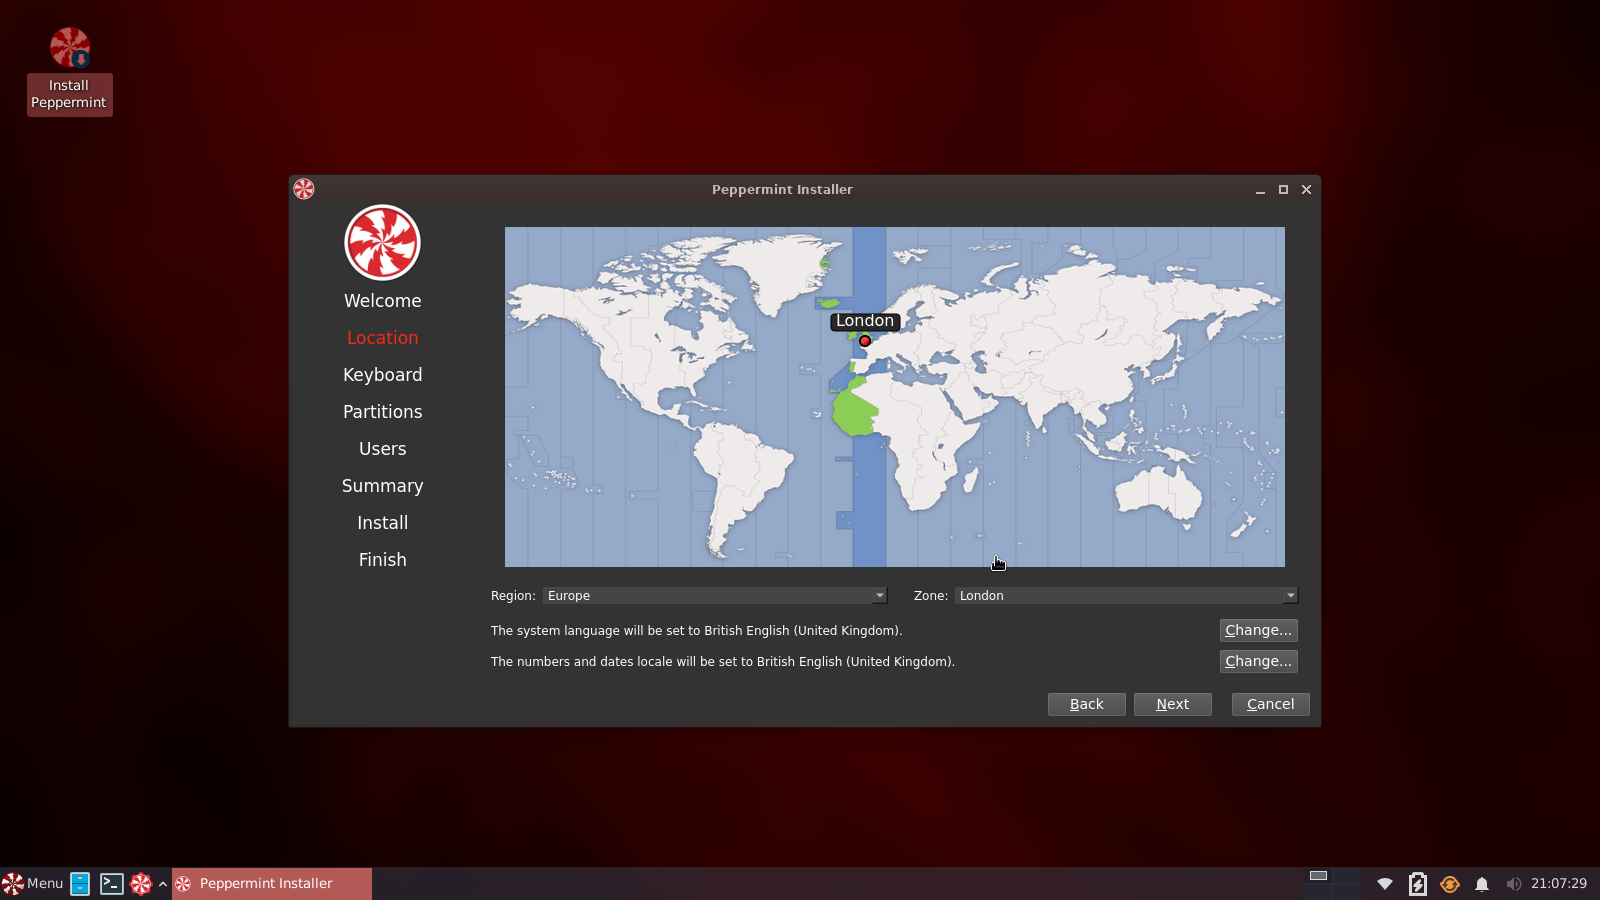
Location: Choose your Region and Zone.
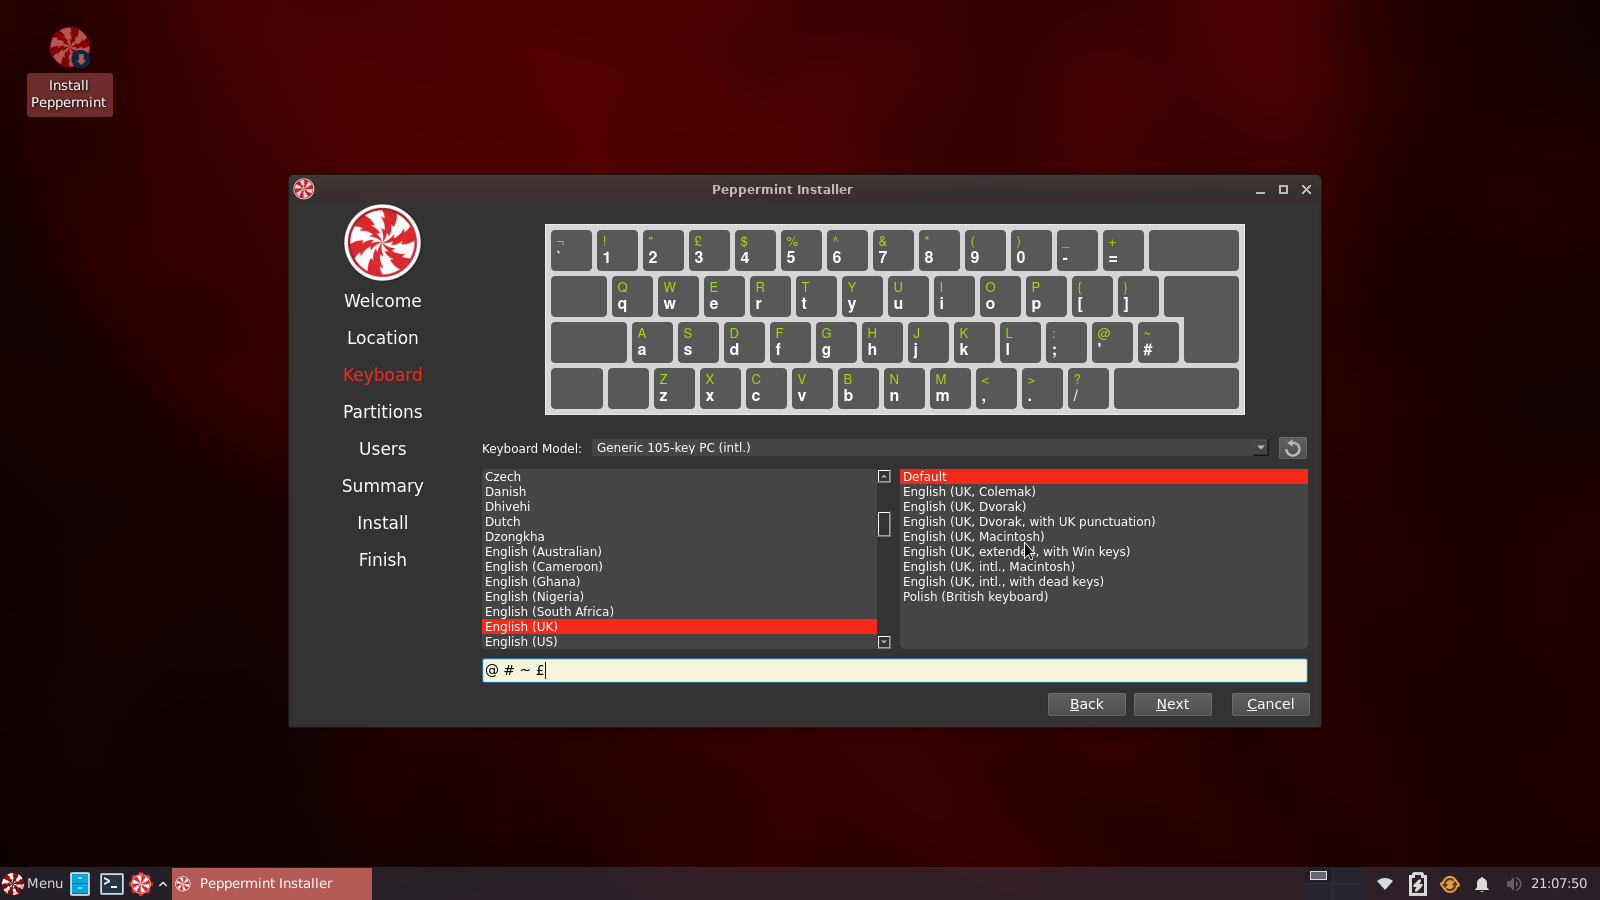
Keyboard: The installer will attempt to choose the appropriate keyboard layout. However, you can change that if needed.
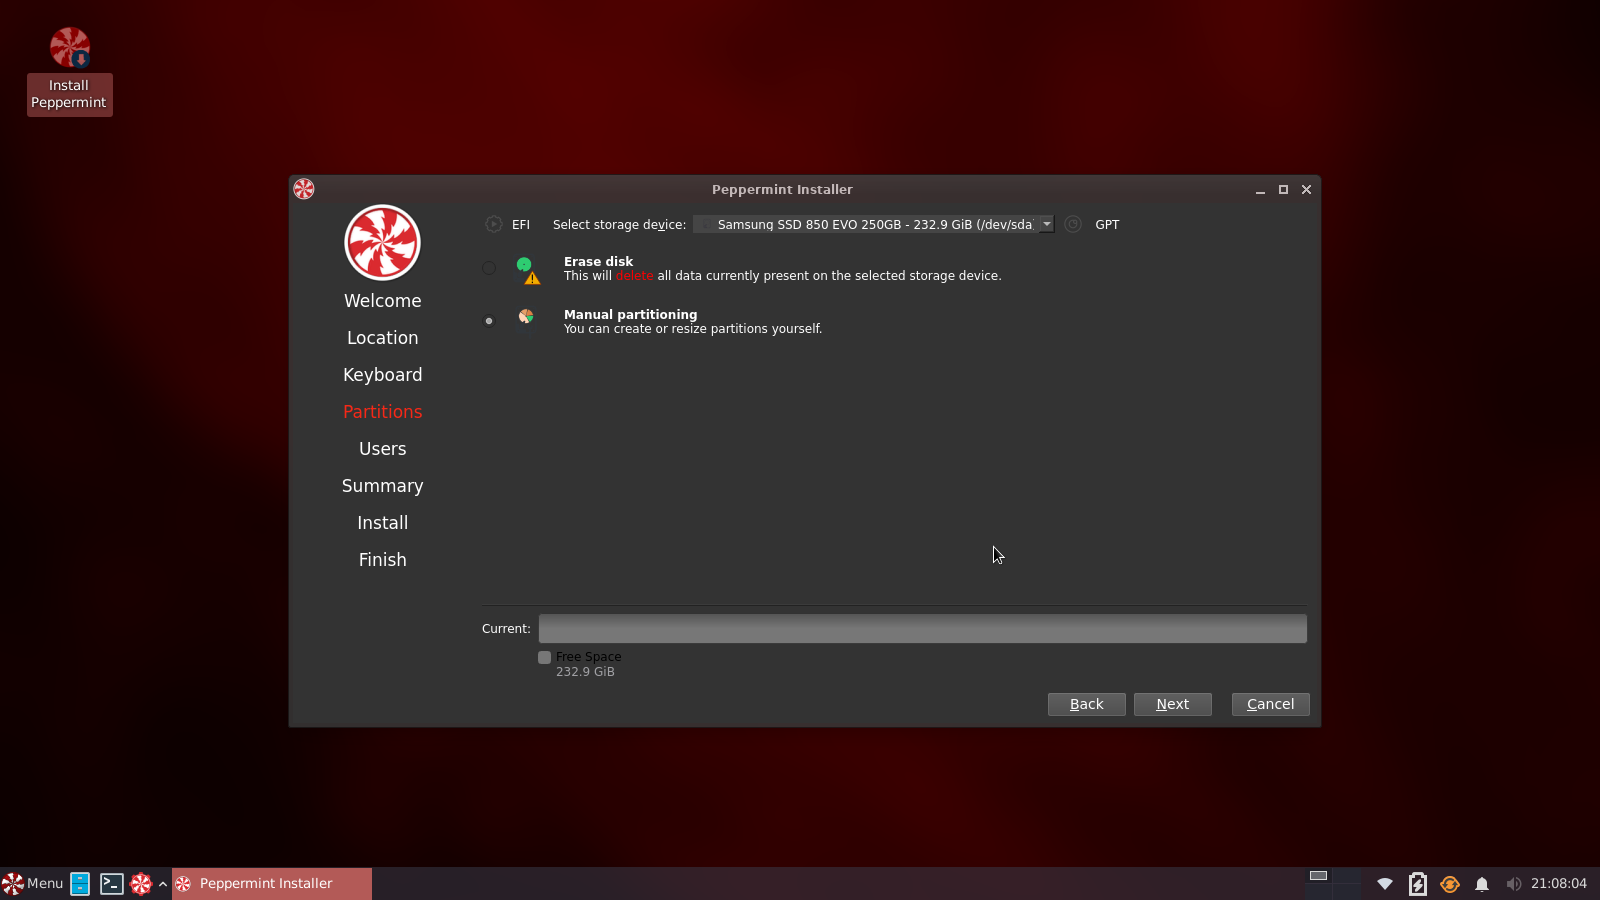
Partitions: If you have other operating systems installed, the installer should recognize them and provide options to install alongside them by moving the partition slide, 25GB will be enough for testing purposes. Or wipe the entire disk and install.
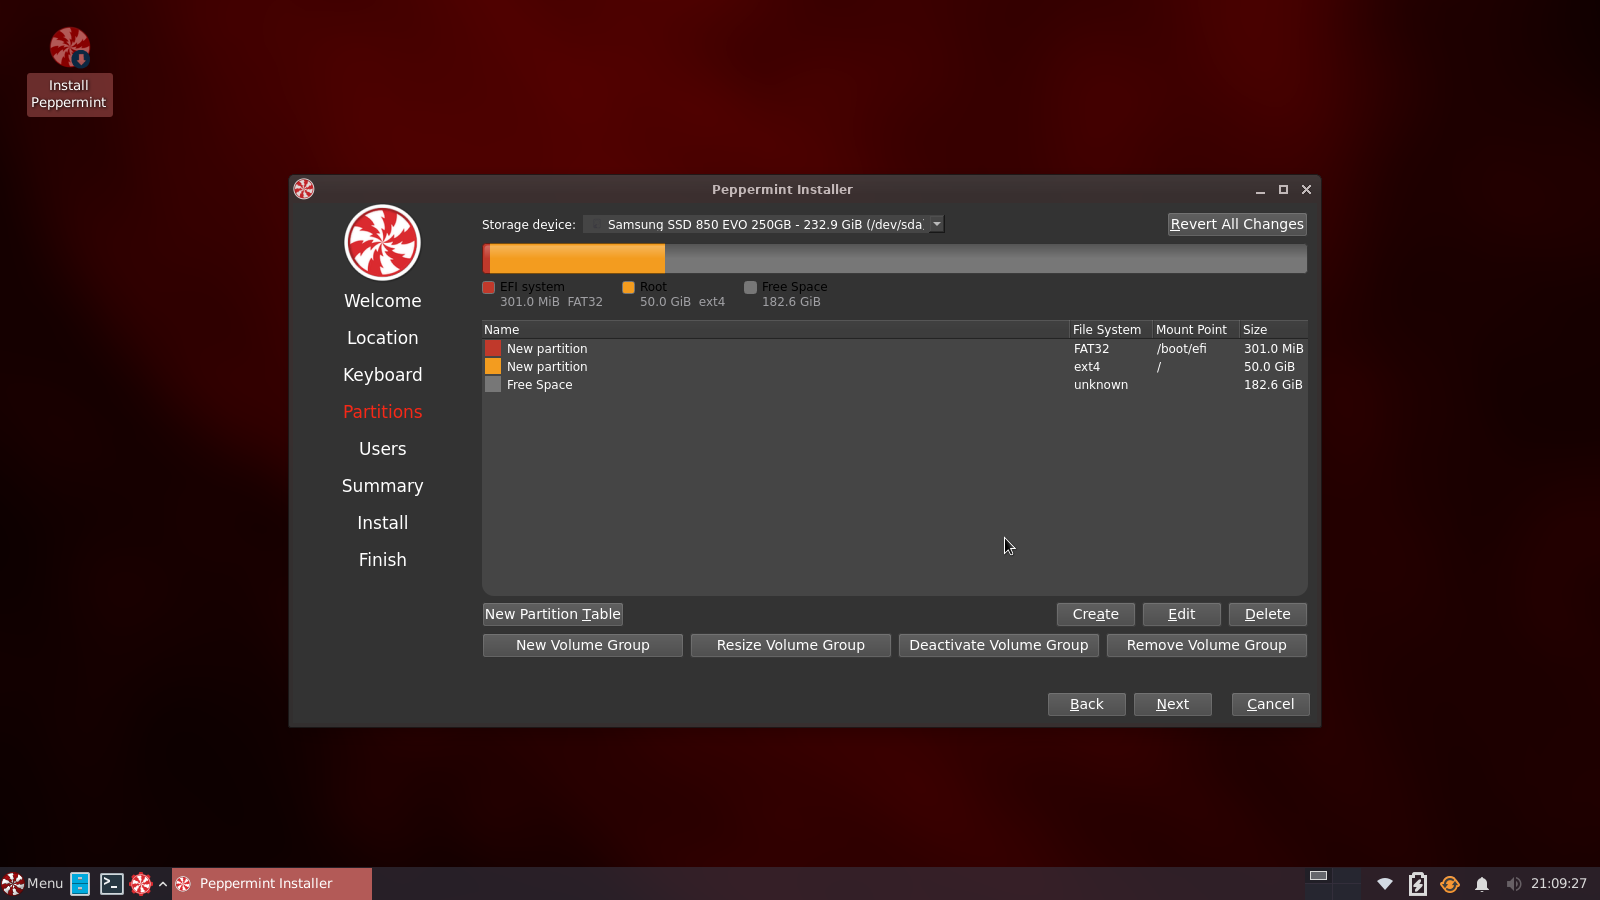
The final option is manual, where you decide what your schema is via GPT or Legacy. The example here is esp and a single /root partition. There will be warning on the installer, that there is no swap. But I’m adding swap file post reboot. We have instructions at the forum how add a swap file.

Users: Enter your username, host name and password. Please ensure you do not use a poor quality password, this example is my test machine, with disposable data I could afford to loss.
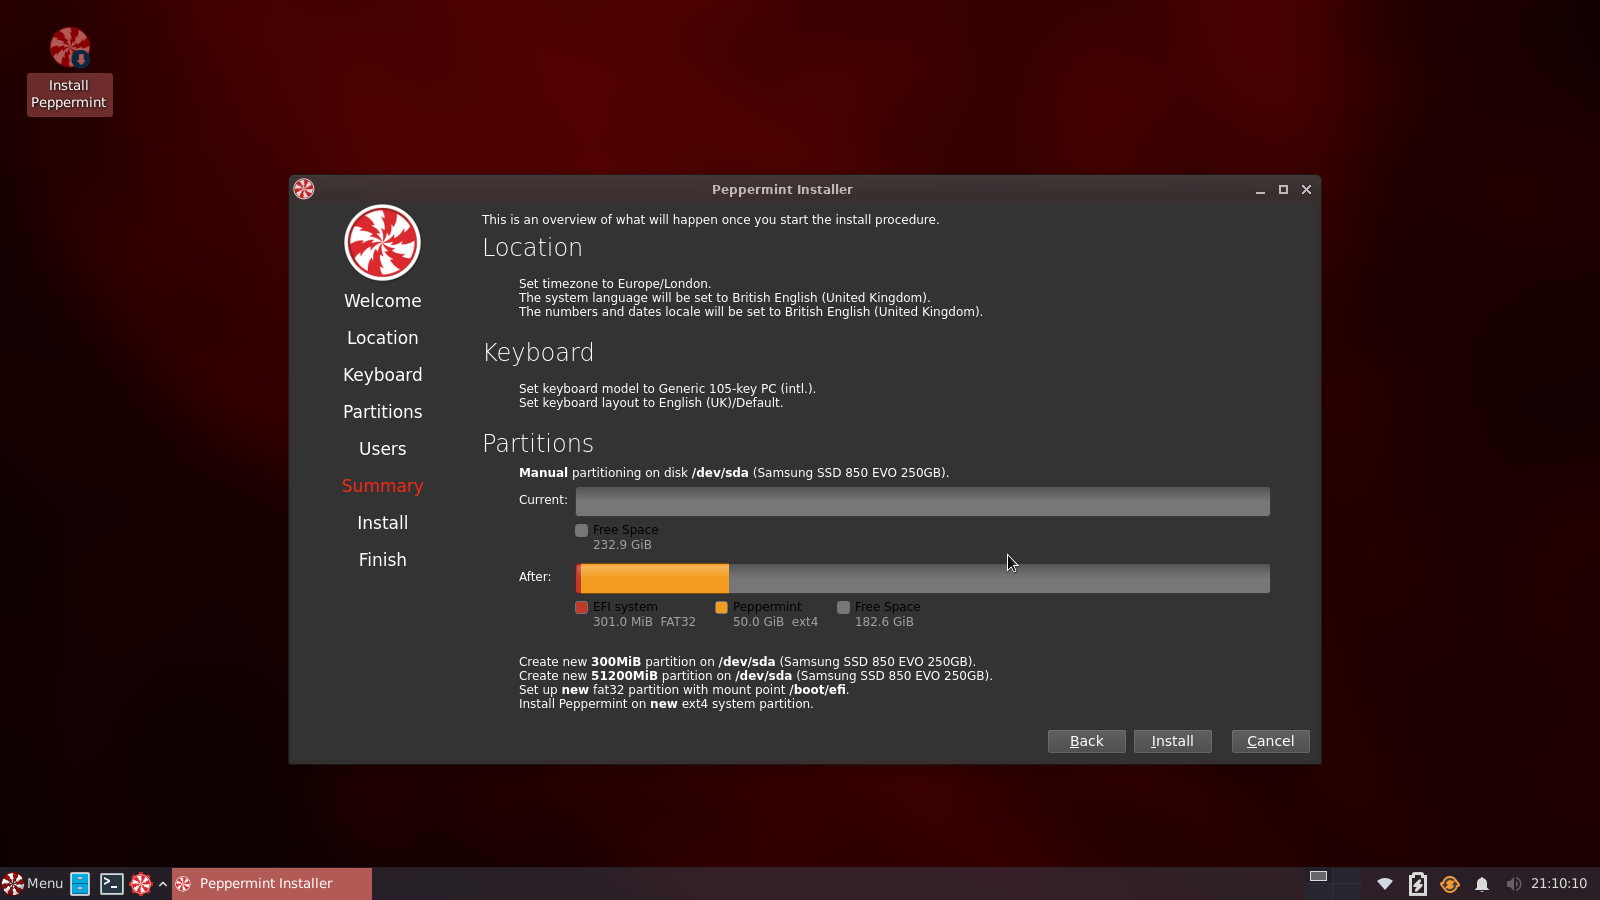
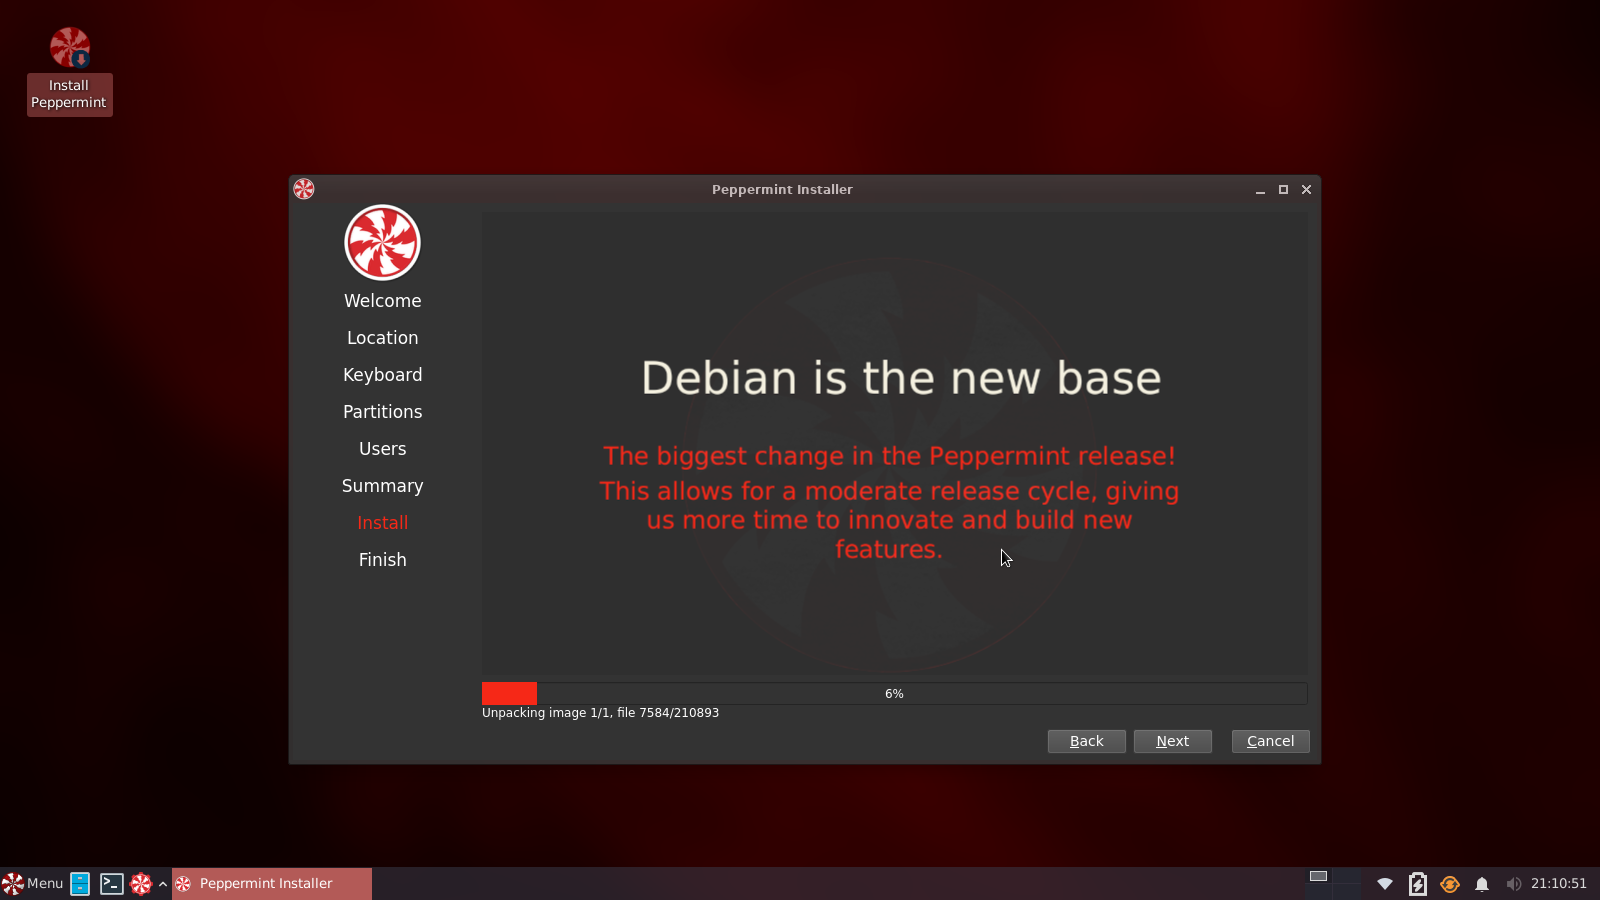
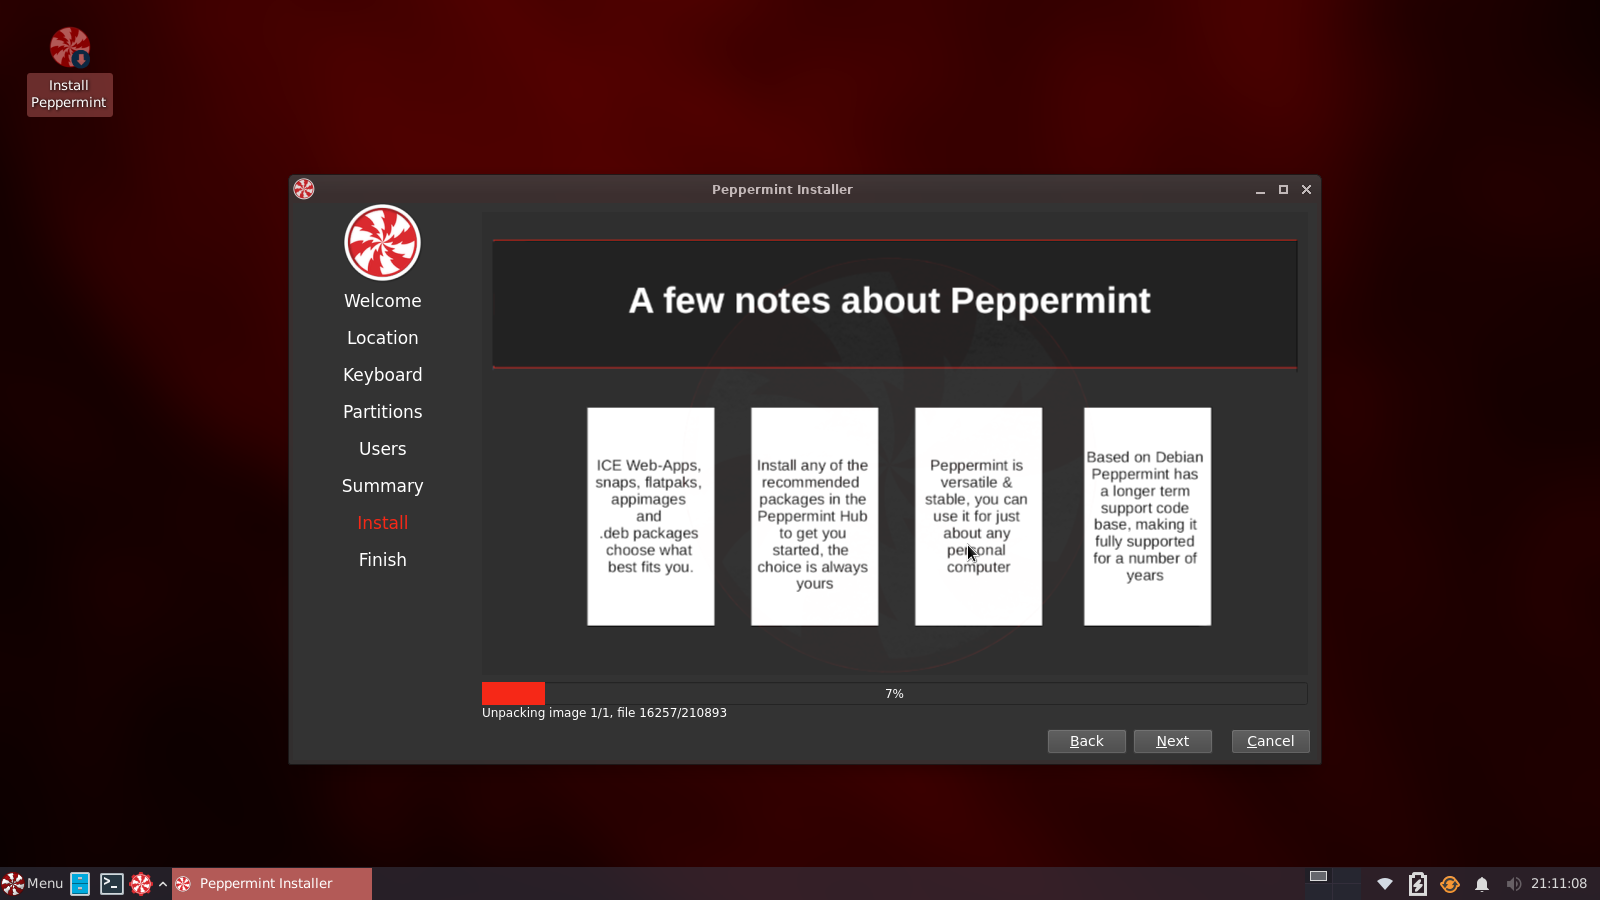
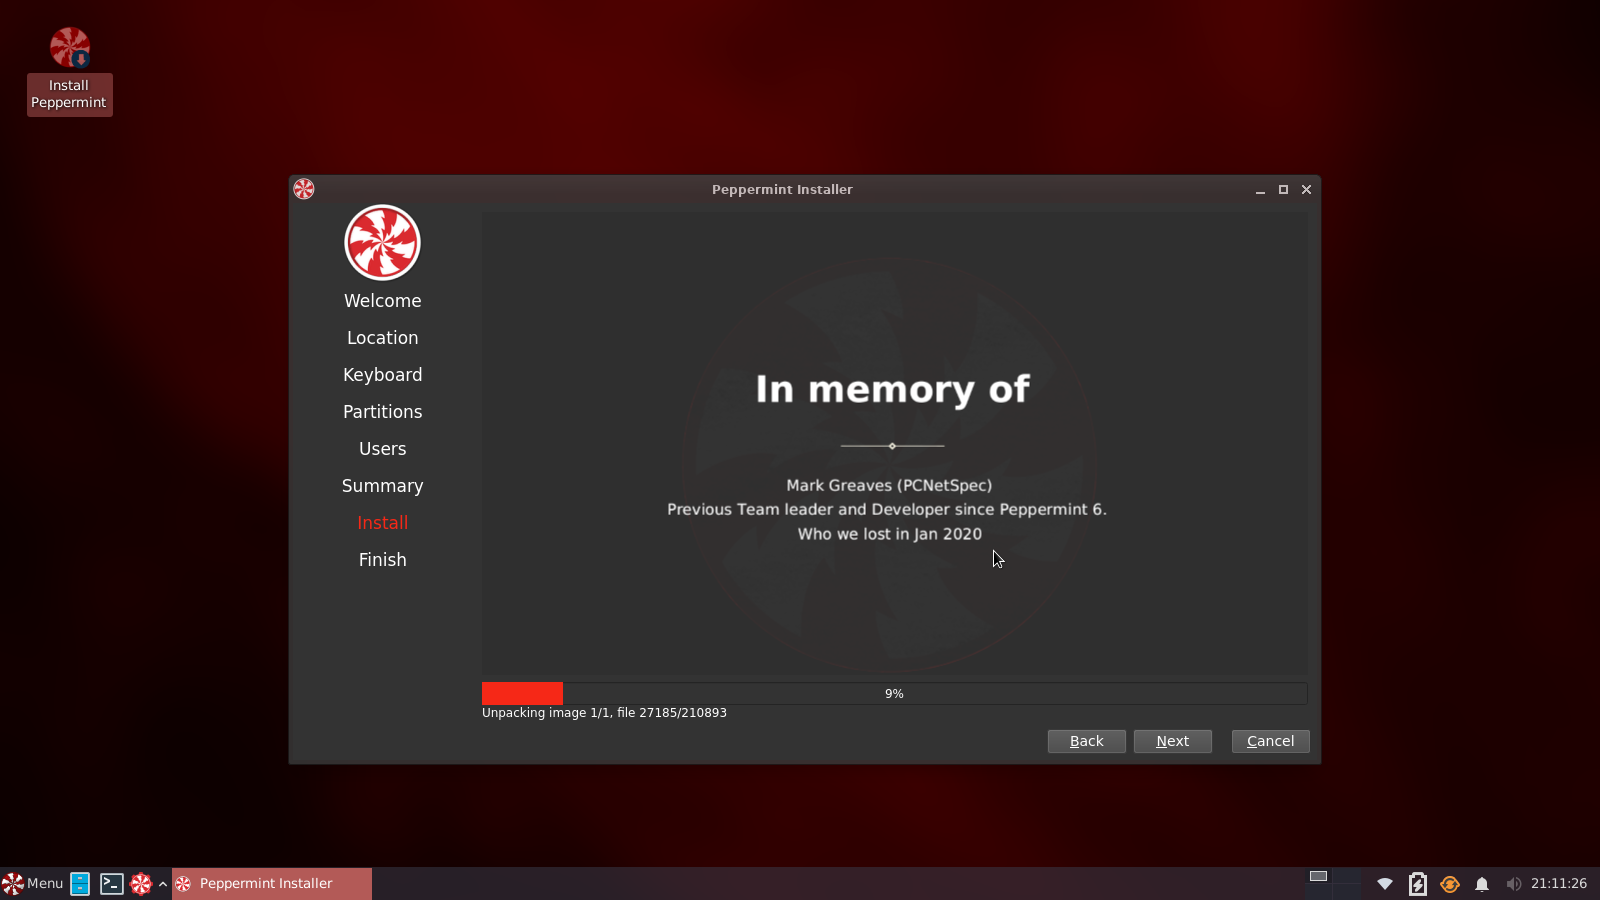
Summary: Here you are presented with all chooses to this point. It tallies with what chosen and click install, and enjoy the slide show. It takes about 5 minutes depending on equipment specs. My test machine is an aging Dell Latitude 5430 i5 nonVpro with a Samsung 850 evo SSD and 16GB of ram.
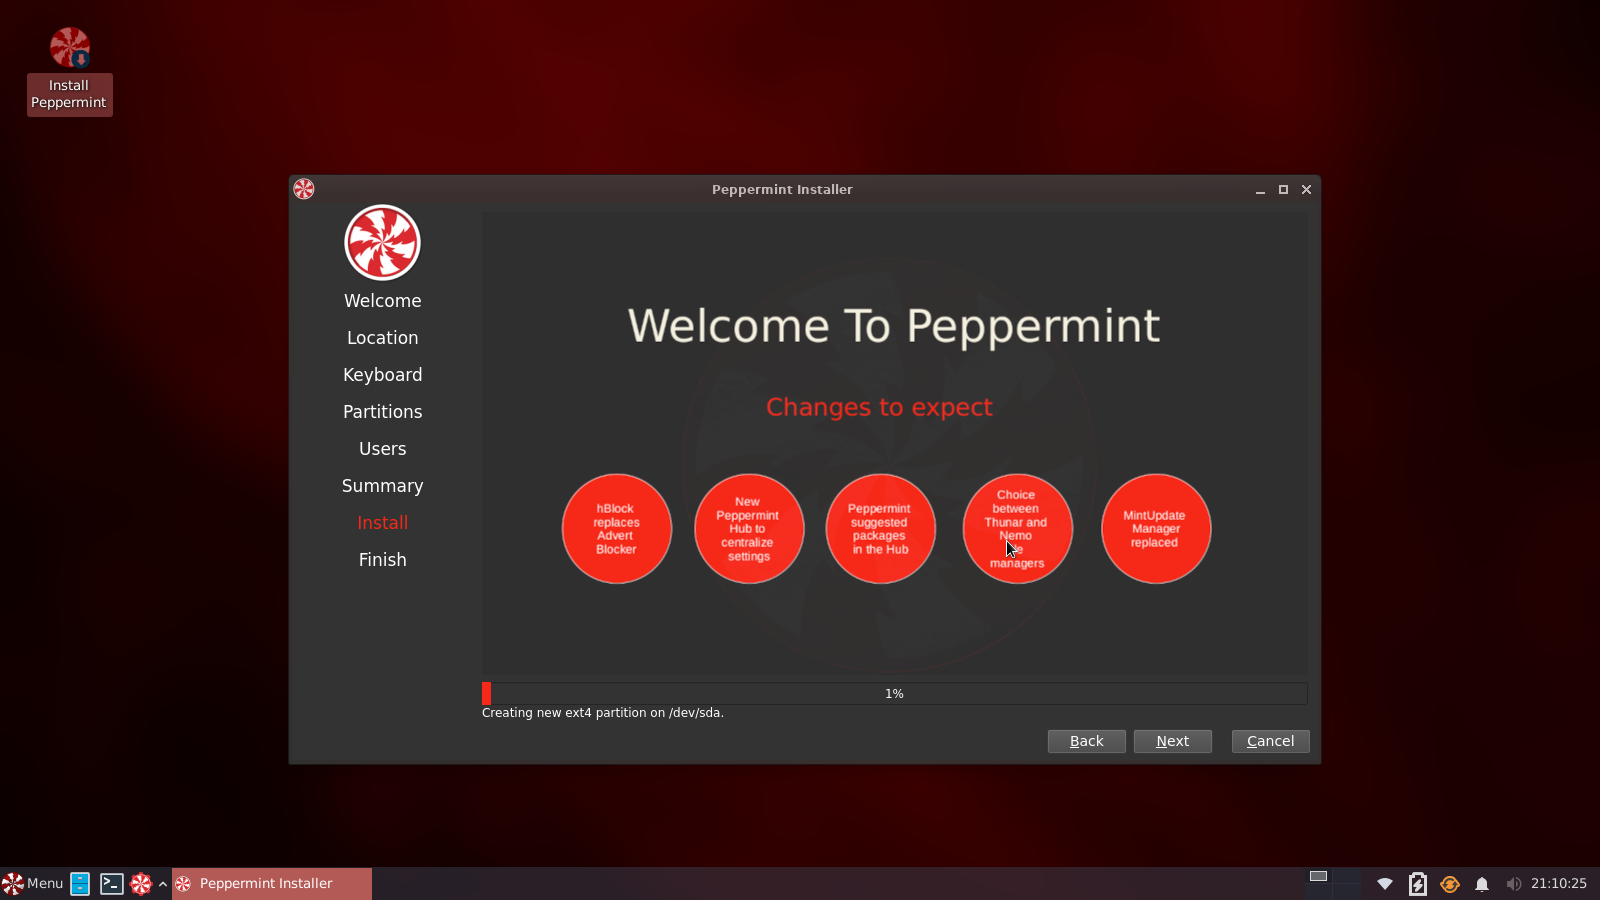

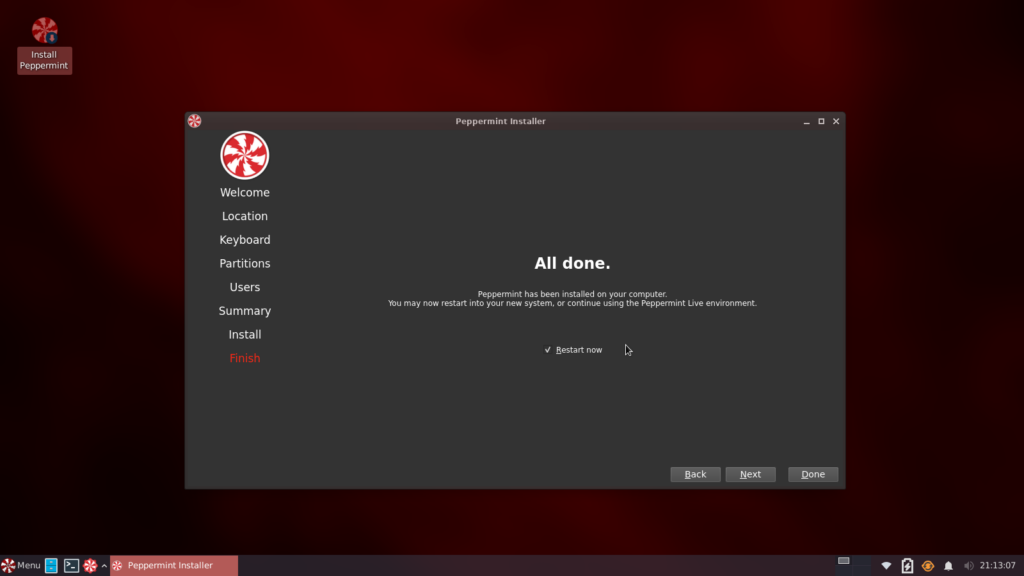
When the installer finishes, Peppermint should now be successfully installed on your computer. You may want to explore and test the live media for a while before rebooting, when prompted with a dialog. Note that any changes you make while still in the live image will be lost when you do restart so it is generally advisable to just go ahead and restart. Then click on Done. Remember to remove your USB or DVD install media.
We hope you enjoy Peppermint as much as we have done making it, the devs team.